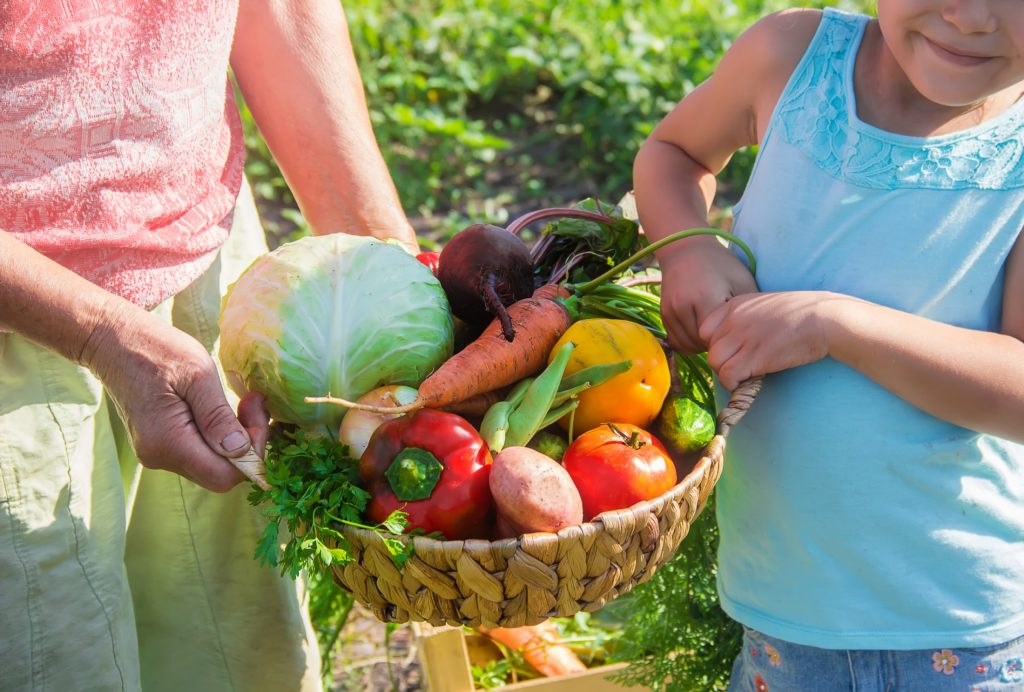
There is nothing more satisfying than harvesting and eating vegetables that you have grown. It’s a great way to teach children about plants and where food comes from, and it may even encourage them to eat their veggies! Gardening also provides health benefits such as stress relief and exercise, to name a few. Furthermore, by growing your own vegetables, you know exactly what went into them and they are often healthier and tastier than those you buy at the store.
Vegetable gardening is relatively simple. Choose an appropriate sunny location. Even if you do not have an appropriate spot in your yard, you must surely have somewhere you could grow a few vegetable plants in containers. Prepare the site by removing existing vegetation, ensure that you have healthy soil, sow seeds or plant seedlings, keep free from weeds, feed and water the plants, and then harvest and enjoy.
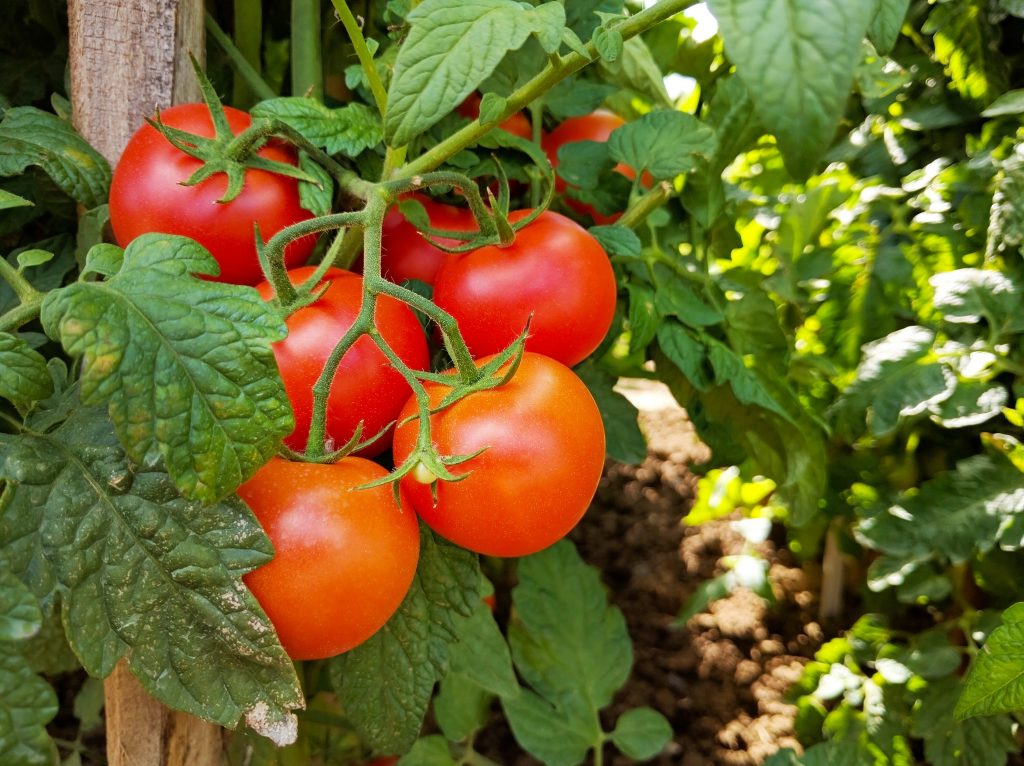
Location:
- Minimum of 6 to 8 hours of direct sun per day is ideal.
- Sheltered from wind which can knock plants over and dry the soil.
- Near a water source to make irrigation easier.
Remove existing vegetation:
- If the area is relatively small or you need to start your garden immediately, remove vegetation manually with a sharp shovel or spade.
- For heavy weed infestations and when perennial weeds are a problem, more drastic measures may be needed before proceeding, perhaps including excavation, solarization or herbicide treatment. Our garden center staff experts can provide more details.
- The easiest option is to build or buy a raised bed.
- A raised bed can be placed directly on existing lawn, simply cover area with several layers of newspaper, erect bed and fill with soil mixture.
- You may also remove the turf, flip it over, and use it to line the bottom of the raised bed.
Prepare the soil:
- Healthy soil, rich in beneficial microbes and nutrients is vital to a healthy, productive vegetable garden.
- Consider having your soil tested for pH, nutrient levels and lead.
- If lead or any other potentially toxic contaminant is found in your soil, use a raised bed filled with purchased soil or consider a container garden. When in doubt, particularly in urban areas, go with the raised bed or container option.
- Amend the soil with fertilizers or organic matter to correct any deficiencies and to optimize soil texture.
- In the fall, in anticipation of spring planting, work a generous amount of organic matter into the soil.
- In spring, if you did not previously add organic matter in the fall, work a generous amount of compost into the soil prior to sowing seeds or planting.
- Soil amendments are crucial to improving soil texture. Addition of organic matter such as compost, peat, humus etc. will help clay soils drain better and sandy soils retain moisture.
- Work an organic fertilizer into the top layer of the bed prior to planting. Fertilizers such as Espoma Bio-Tone or Garden-Tone additionally contain mycorrhizae and beneficial microbes that provide nutritional support and promote healthy root growth.
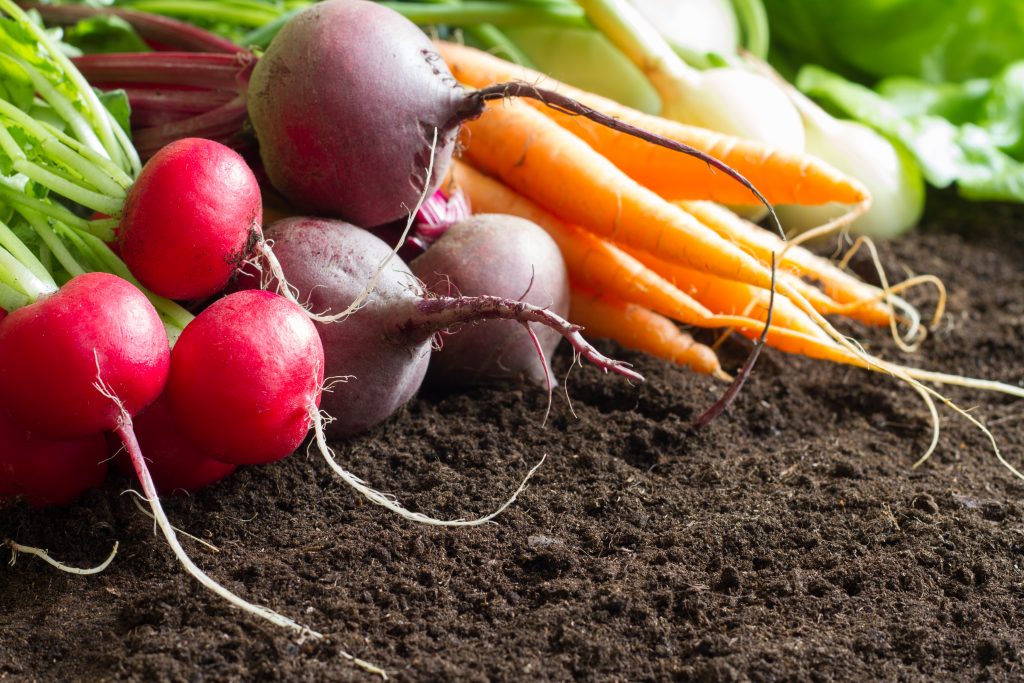
Raised Beds and Containers:
- Raised bed vegetable gardening has become immensely popular as they can be placed virtually anywhere and they eliminate the need to dig and prepare a bed, particularly in difficult soil situations such as:
- Hard packed clay soil
- Lots of rocks or tree roots
- Contaminated soil
- It is possible to place a raised bed on pavement as long as it is deep enough to allow for adequate root growth. A minimum depth would be 24” but 32” or more is ideal.
- An elevated raised bed can be placed anywhere, and the height eliminates the need to stoop, bend or kneel when gardening.
- Raised bed are available as kits or you can construct your own with wood, plastic, stone, or brick.
- Do not use treated lumber as it can contain toxins.
- Remember that you will have to be able to reach the middle of your raised bed, so plan for a width of 3 to 4 feet to ensure comfortable access.
- Fill raised beds with a 50/50 mix of topsoil and organic compost. Weston’s Organic Compost, Weston’s Screened Loam and Weston’s Vegetable Garden Mix are all conveniently available for pick-up or delivery.
- Container gardening is a great solution for small spaces. A sunny patio or deck are perfect locations.
- Use the same 50/50 mix of soil and compost as above.
- Most vegetable will grow well in containers provided the container is large enough for good root development and good drainage.
- Corn, winter squashes, and melons will not do well confined to a container, but nearly any other vegetable plant can thrive in a container.
- There are many varieties of vegetable plants bred specifically for container gardens, but you are not limited to these. Just make sure that your container is adequately sized for your chosen plant.
Planning Your Vegetable Garden:
- Prior to planting your vegetable garden, familiarize yourself with your region’s average last frost date in the spring and average first killing frost date in the fall.
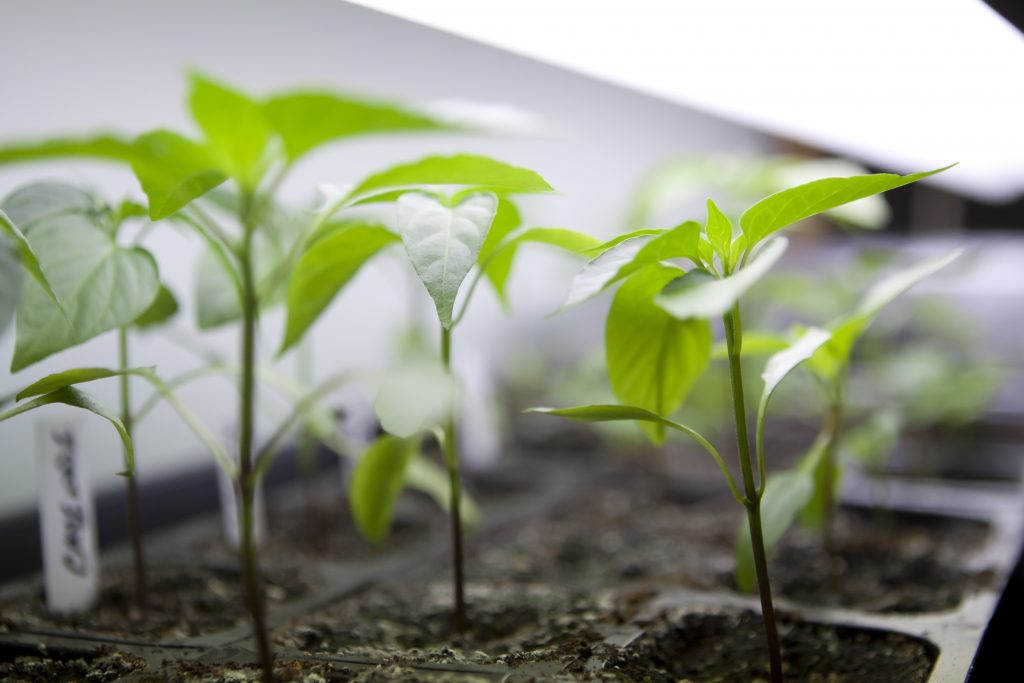
- Decide well ahead of time whether you will start seeds indoors or purchase young plants to plant directly outdoors, or a combination of both. Purchased plants will require some time to “harden-off”.
- One of the best sources of information about starting seeds indoors can be found right on the seed packet, including days to germination and harvest, depth to plant, optimal soil temperature for germination, seed spacing, and how many weeks before the last frost to start indoors.
- Some vegetables do best when directly seeded into the ground and do not thrive as well if they’re transplanted or disturbed. In general, these are “cool season vegetables” which can be planted in early spring or late summer into fall. Check your seed packet for planting instructions as noted above. The following vegetables will do well when directly seeded: beets, carrots collards, fava beans, kale, leeks, lettuce, peas, radishes, spinach, and turnips.
- Many cool season vegetables, such as lettuce, radishes, and carrots can be planted in successive waves, one week apart in the spring to ensure many weeks of harvest. This can be repeated in late summer.
- “Warm season” vegetables are easily killed by cold temperatures and are often started as seeds indoors or purchased as young plants and transplanted outdoors after the last chance of frost. These include tomato, pepper, eggplants corn, cucumber, green beans, squash, and melons.
- If soil temperatures are above 60 degrees and you are beyond the last frost date, you can directly seed warm season vegetables. Check length of time from germination to harvest on the seed packet to ensure that your growing season is long enough.
- It is a good idea to map out your garden before planting anything. Take into account how much space each plant requires. Place taller plants in the northern part of the garden so they will not block the sun.
- Make sure you have supports, such as trellises, tomato cages and stakes, available for those plants that will require them.
Watering:
- In general, your vegetable garden should receive 1-2 inches of water per week, whether by rainfall or irrigation and possibly more in extreme heat.
- To promote drought tolerance and encourage deep root growth, allow soil to dry slightly between waterings.
- Water in the morning as this allows foliage to dry quickly and reduces evaporative loss. Avoid wetting foliage if possible.
- For the most efficient irrigation, consider installing a drip irrigation system.
Weeds:
- Vegetable plants produce better when they do not have to compete with weeds for food and water.
- Suppress weed growth by applying a 2 to 3 inch layer of organic mulch after the ground has warmed up in the spring. Seed-free straw works well and can be worked into the soil in the fall.
- Manually remove weeds as they appear.
Fertilizer:
- Hopefully, you have worked a balanced organic fertilizer into the soil prior to planting.
- Vegetables are heavy feeders and will require additional fertilizer during the growing season.
- Either synthetic or organic fertilizers or a combination can be used.
- Synthetic fertilizer is manufactured and is usually very concentrated and water soluble. Read all package direction carefully and use only as directed. Too much or improperly applied synthetic fertilizer can burn or kill plants. Synthetic fertilizers are useful to provide a quick feed when needed.
- Organic fertilizer is derived from plant and animal products, tends to be slow release and will provide nutritional support that becomes available to the plant over a period of time, rather than all at once.
- Apply a balanced fertilizer every 3 to 4 weeks. Some liquid fertilizers may need to be applied more frequently. Always read package directions for proper application.
- Side dressing with compost, manure or granular organic fertilizer, while taking care not to get fertilizer on the plants, is an easy method that does not require the additional steps of mixing, dilution and watering.
- Container grown plants may do better with a liquid fertilizer application every 1-2 weeks such as Neptune’s Harvest or Organic Plant Magic.
Pest Management:
- Healthy plants are more resistant to pests and diseases whereas stressed plants are more susceptible. Healthy soil that is rich in organic matter, proper watering and weed control are essential to growing healthy vegetable plants.
- Inspect your garden frequently for signs of insect damage. The earlier you identify a problem, the easier it will be to manage. If in doubt, take a photo and ask one of our garden center staff for help.
- Encouraging beneficial insects, as well as birds, toads and snakes can also aid in cutting down the population of harmful pests.
- Slugs thrive in moist conditions so always water your garden in the morning so that it can dry out by evening, making it less attractive to the slugs. Additionally, beer traps work well. You can also provide inviting spots for slugs to shelter, such as a wooden plank on the ground or an overturned flowerpot. Turn those slug shelters over in the morning, pluck the slugs off and dispose of them. You can also lay down a physical barrier so that the slugs cannot reach your plants.
- Aphids can destroy nearly all garden crops A forceful spray of water will knock off many aphids. You may need to use an oil or soap spray to completely eliminate the aphids.
- Another strategy to control pest is to use companion plants to deter harmful insects.
- Chives: carrot flies, Japanese beetle and aphids.
- Dill: aphids, squash bugs, spider mites, cabbage loopers and tomato hornworms.
- Fennel: aphids, slugs and snails.
- Rosemary: cabbage moths
- Thyme: whiteflies, cabbage loopers, cabbage maggots, corn earworms, whiteflies, tomato hornworms and small whites.
- Nasturtiums: whiteflies, squash bugs, aphids, many beetles and cabbage loopers
- Potted Marigold (Calendula): aphids, whiteflies and thrips.
- Rabbits are voracious and should be kept out with fencing.
- Woodchucks can decimate your harvest. Fencing should be buried at least 12 inches deep, with the buried portion flaring outward, and should be at least 4 feet above ground, with the top of the fence left floppy. Additional repellants may be needed. There are commercially available products, and some gardeners find that sprinkling soiled kitty litter, blood meal or other malodorous substances around the garden perimeter can discourage woodchucks.
- Moles and voles can be deterred with a number of products such as Bonide MoleMax.


