When planning for a garden, a key thing to consider is whether you want to start your garden from seeds or from young plants (“transplants”) bought from a local nursery.
Each option has its advantages and disadvantages. Buying transplants is certainly a lot easier and more convenient, but you are also limited to only growing the types of vegetables and flowers that you can find. Seeds, on the other hand, offer a wide range of varieties to try. Here are the main things to think about:
- If you want to grow a lot of plants, buying packs of seeds is usually cheaper than buying individual seedlings from the nursery.
- While some nursery plants are grown really nicely, others may be of poor quality. When you plant your own seeds, you have control over the way the young plant is raised. This may be especially important if you are an organic gardener.
- Finally, there isn’t always a great selection of plants at local nurseries. When you plant from seed, you have a much wider choice of varieties, tastes, and textures—and you can experiment with new ones, too!
For absolute beginners, it’s not a bad idea to start off with buying transplants, as you won’t have to stress over things like the timing of starting seeds or the care of young seedlings. That being said, there are many vegetables—such as carrots and radishes—that do best when started from seed, so consider employing both methods to suit your needs.
Starting Seeds Indoors vs. Outdoors
Once you’ve decided to try your hand at starting your own seeds, it’s time to think about starting them indoors or outdoors. There are many benefits to starting seeds indoors rather than waiting to sow them outdoors (aka “direct-sowing”). The main reason is to get an early start on the gardening season, but that’s not the only consideration:
- In colder climates with short growing seasons, starting seeds indoors allows you to gain a few precious weeks of growing time, which can really make a difference when frost looms in the fall. Slow-growing crops such as tomatoes may not even have enough time to reach maturity if they are started outdoors.
- In warmer regions, starting seeds indoors can allow you to get in an extra round of crops (especially cool-weather crops) before the heat of summer stifles growth.
Which Seeds Should You Start Indoors?
Not all seeds should be started indoors. In fact, most vegetables grow perfectly well when directly sown outdoors and even prefer not to be transplanted. Ultimately, it’s important to consider how each type of vegetable grows.
- Crops that are best started indoors include broccoli, brussels sprouts, cabbage, lettuce, and tomatoes. Those with a slower root development, like cauliflower, celery, eggplant, and peppers, should also be started indoors.
- Tender vegetables like tomatoes, eggplants, and peppers are very susceptible to the cold temperatures of spring, so it’s best to start them indoors and keep them safe from unpredictable weather.
- Plants that do not transplant well and are therefore best started outdoors or in containers include cucumbers, muskmelon, pumpkins, squash, and watermelon. These are all tender, however, so refrain from sowing them outdoors while frost is still a threat.
- Some plants truly resist transplanting. For example, root vegetables like carrots and beets don’t like having their roots disturbed, so it’s usually safer to just start their seeds outdoors in the ground rather than transplant them later on. Plants with long tap roots also do not like to be transplanted; examples include dill and parsley.
- Finally, plants like radishes and peas are so fast growing and cold tolerant that it just makes sense to get them right in the ground!
Tips Before You Start Seeds Indoors
- Make a list of what you’d like to grow. A good rule-of-thumb is to imagine your garden one-quarter the size that it really is. This allows for good spacing practices!
- Prepare for some losses. Though it’s good not to plant too much for your garden space, it’s also good to assume that some of your seeds won’t germinate, or that they will inexplicably die off later. Plant a few extra, just in case.
- Consider a grow light if you start in late winter. Most veggies need between 6 to 8 hours of direct sun (minimum), so it’s important to have a grow light if you are sowing your vegetable seeds indoors in late winter. A grow light will also keep your seedlings from getting too leggy.
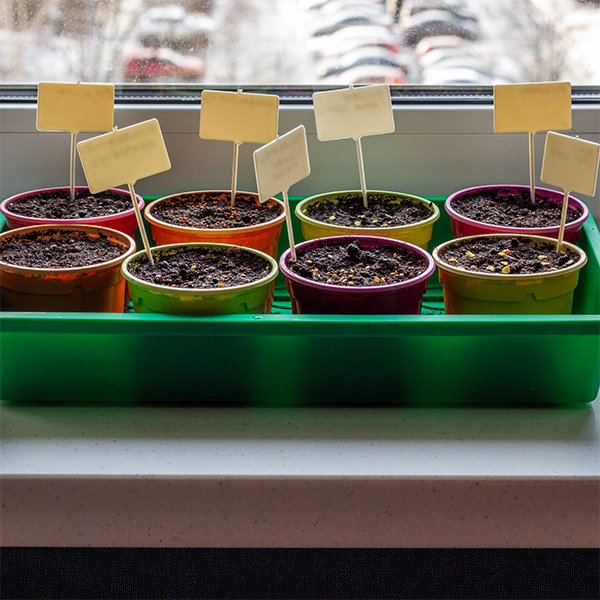
- Use clean containers. Commercially available seedling flats, peat pots, and other growing containers are easy to use, but egg cartons make good containers for the earliest stages of seed starting, too. Be sure to poke holes in the sides near the bottom of the containers you use in order to allow excess water to drain. Keep in mind that you might need to transplant your seedlings into larger containers at some point before moving them into the garden.
- Label your containers now! There’s nothing more frustrating than forgetting what you planted, especially when you are testing out different varieties of the same plant.
- You may have to soak, scratch, or chill seeds before planting, as directed on packet.
- Seeds sprout best at temperatures of 65 to 75°F (18-24°C). Don’t let it get too cold.
- Rotate your seedlngs. If you keep your seedlings next to a window, remember to rotate the containers every so often to keep the seedlings growing evenly. If you’re using a grow light, remember to raise it a few inches above the tallest seedling every couple of days.
When to Start Seeds Indoors
- As a general rule, most annual vegetables should be sown indoors about six weeks before the last frost in your area.
- Do not sow too early in the season or you’ll end up having to transplant seedlings into bigger containers more often because conditions outside still aren’t suitable for outdoor planting.
- Your packet of seeds will often list when the seeds should be started indoors. For example, it may say, “start indoors 8 weeks before last expected frost date in your area.”
Types of Seed-Starting Containers
Plastic Food Containers (Yogurt Cups, Sour Cream Containers, etc.)
Plastic food containers such as yogurt cups or sour cream containers make for excellent seed-starting pots. Simply clean them out and poke a few drainage holes in their bottoms. They are generally large enough to house one or two small seedlings for a few weeks. Eventually, seedlings will need to be transplanted into their own pots.
Seed Flats or Trays
A seed flat or tray is a single tray-like container that is useful for sowing very tiny seeds such as basil or easy-to-transplant flower seeds. The seeds are sown in the tray and, when big enough to handle, are transplanted on to their own individual pots or plug trays. The compact size of seed trays makes for a very efficient use of space during this first stage of growth.
- For easy cool-season crops—everything from onions to celery to cabbage—you can sow multiple seeds in the same container or seed flat. You can even stack trays up after sowing to save on space. After two or three days, start checking daily for signs of germination then move them out to the greenhouse or cold frame to continue growing. Or you can continue to grow seedlings on indoors, using grow lights to ensure strong, even growth.
- Note: Larger seedlings, or those of tender crops such as tomatoes or peppers, will likely need to be potted up to a larger container at least once. They grow fast and will need to be pricked out into individual pots before they are transplanted into their final outdoor growing spots once the threat of frost has passed.
Plug Trays
Plug trays are basically containers with individual pockets for each seed. They minimize root disturbance and save time, because often seedlings can go straight from their plug tray to the outdoors.
- Trays with smaller plugs suit most leafy greens and radishes, especially if they will be transplanted promptly (within three or four weeks of sowing).
- Those with larger plugs are great for sowing chunkier seeds such as beans and bigger, hungrier seedlings such as those of the brassica family (broccoli, cabbage, cauliflower, etc.).
- Well-made trays of rigid plastic can potentially last for many years, but if you want to avoid plastic, look for alternatives made of biodegradable fiber.
How to Sow Seeds
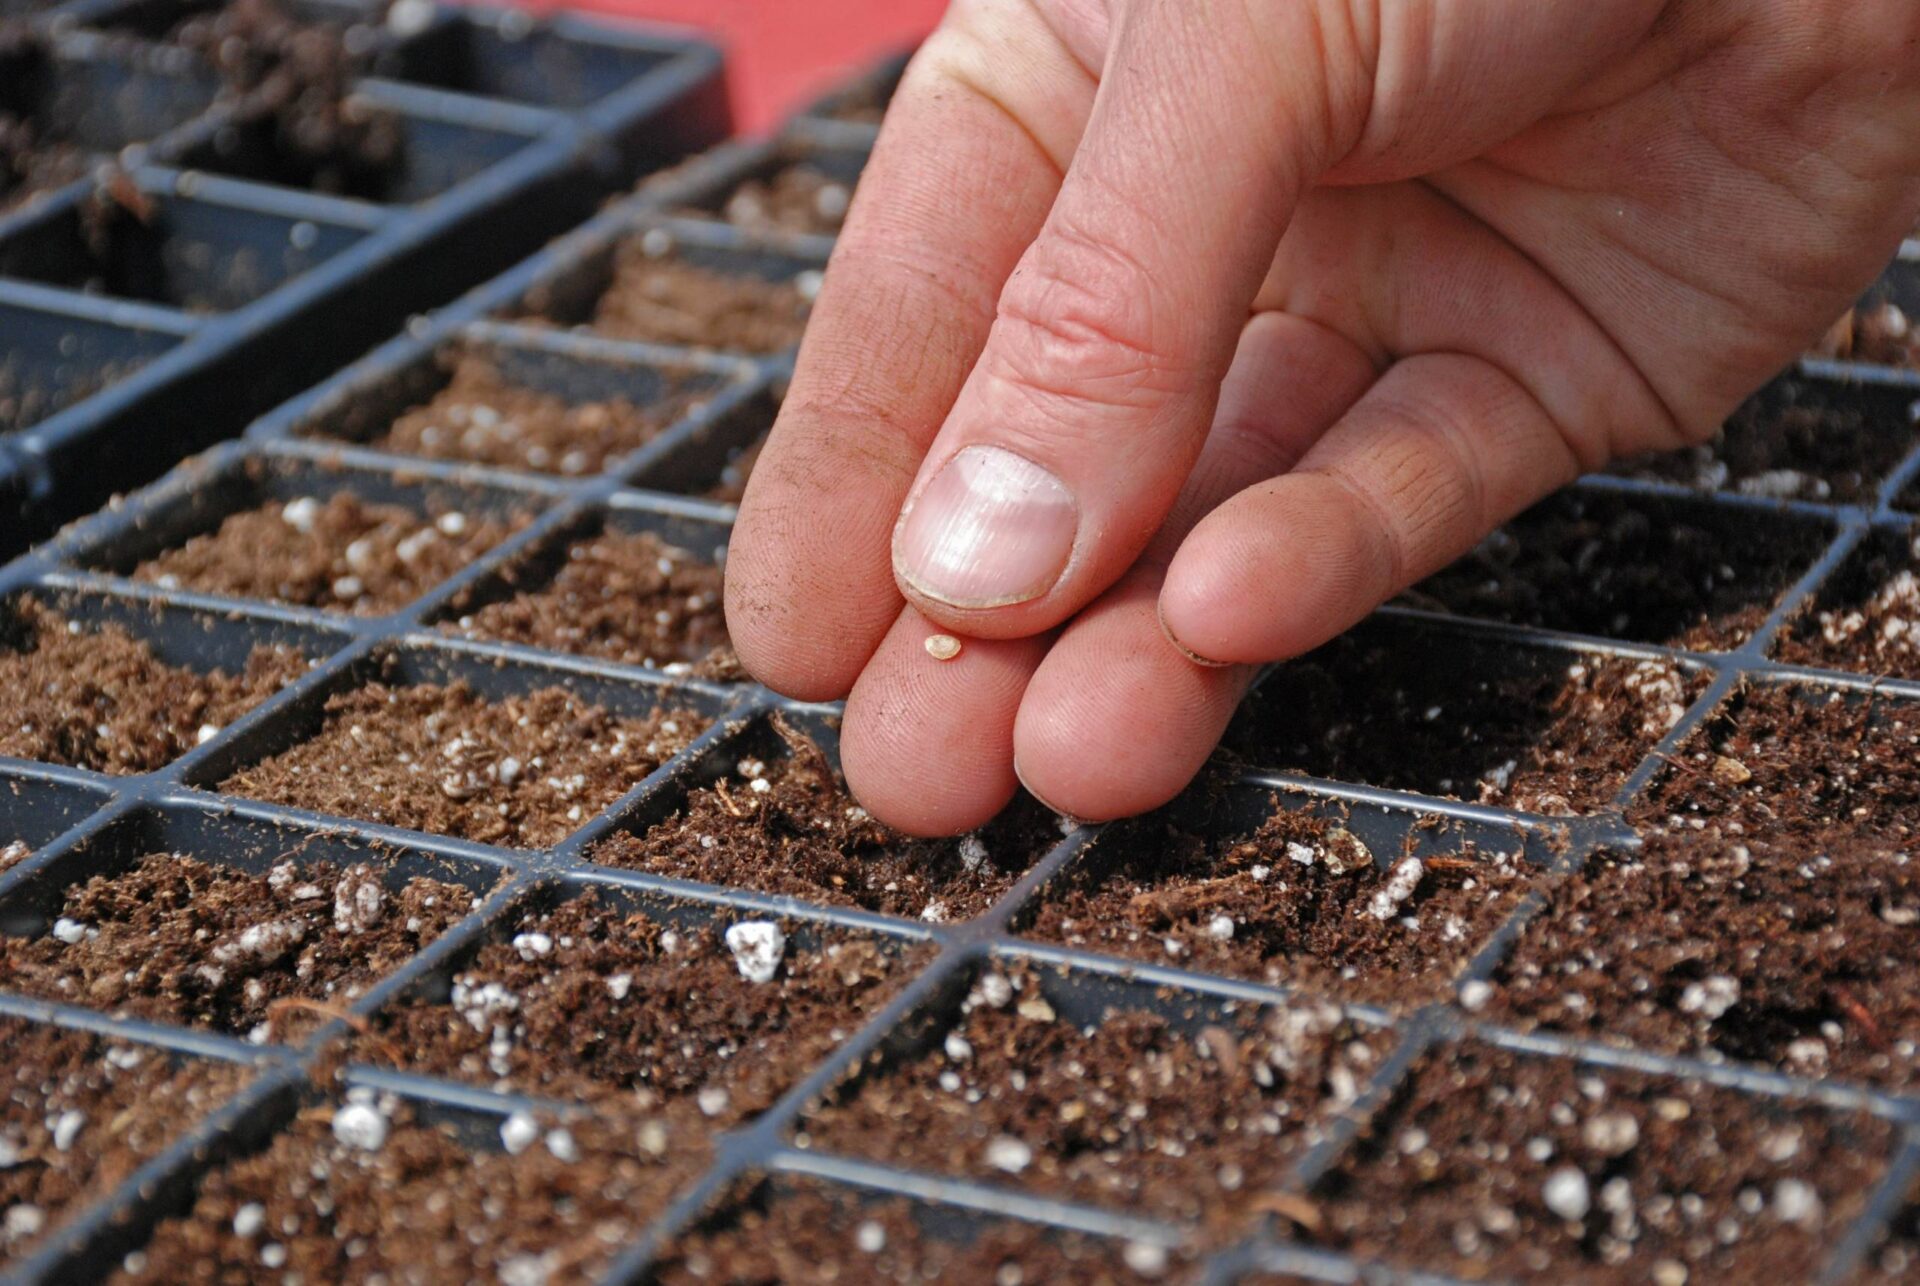
- Fill clean containers with an all-purpose potting mix or seed compost. Pre-formed seed starters (such as Jiffy pellets) work well, too. Do NOT use regular potting soil. It’s not fine enough for many seeds’ roots to easily penetrate the soil and does not allow oxygen to flow.
- If you are using plug trays, push potting mix down into the plugs with your fingers so it’s nice and firm, then add a little more potting mix.
- Now make shallow depressions with your fingertips. Plant your seeds into the depressions at the depth listed on the seed packet. Most seeds can simply be gently pressed into the mixture; you can use the eraser end of a pencil to do so. When choosing which seeds to plant, choose the largest seeds in the packet for the best chance at germination. Many vegetables, including common crops such as salads, onions, beets, peas, and radishes, may be sown in pinches of three to five seeds per plug for planting out as a cluster of seedlings. Larger seeds, like beans, are sown individually into deeper holes made with a finger, pencil, or dibber.
- Once you’re done sowing, sieve a little more potting mix over the top. Gently skim over the surface of the tray with your hands to ensure all the seeds are buried. Water trays carefully using a watering can or clean turkey baster. A pitcher may let the water out too forcefully, dislodging the seeds or young seedlings’ fragile roots. A mist sprayer is gentle but can take a long time. We recommend using a meat-basting syringe (aka “turkey baster”), which will dispense the water effectively without causing too much soil disruption. Go over the trays a couple of times so that the potting mix is completely moistened through. Label trays with the variety and date of sowing.
- Cover containers loosely with plastic or an otherwise clear, waterproof covering to keep them from drying out too quickly. Poke a few holes in the plastic with a toothpick for ventilation; mold growth can occur if containers are not allowed to “breath.”
- Check trays and pots regularly for moisture. Lifting them up is a good way to judge how much moisture there is in the potting mix. If it’s light, water. One way to achieve a thorough watering is to pop trays into a reservoir to soak up water through their drainage holes. Remove them once you can see it’s moist at the surface.
- When seedlings start to appear, remove the plastic covering and move containers to a bright window or under grow lights.
Pricking Out, Potting Up
If you grew seedlings all together in a tray, you can transfer them into their own plugs or pots of potting mix. Start pricking them out as soon as the seedlings are big enough to handle.
Carefully ease the seedlings out of the tray they were growing in then gently tease them apart. Try to retain as much of the original potting mix around the roots as you can. Work with small batches of seedlings so they don’t dry out while their roots are bare.
Make holes in the potting mix with your finger, a pencil, or something similar. Lift each seedling carefully and avoid pinching their delicate leaves, roots, and stems. Carefully feed the roots right down into the hole then gently firm the seedling in. You can bury some of the stem if the seedlings are looking a little leggy and drawn. This will help to support them.
Once you’re done, gently water the seedlings with a watering can. Don’t worry too much if the seedlings get a little flattened, they’ll soon recover.
Preparing Seedlings for Planting

Water seedlings to keep the potting mix moist, but be careful not to overwater. If you’re growing in a greenhouse, tunnel or cold frame, ventilate it on mild, sunny days. This will help keep the air inside moving, and reduce the risk of disease and molds.
Cool-season crops such as lettuce, onions, beets, or peas can go straight outside as soon as the ground is ready, meaning that the soil is no longer cold and wet, and has reached around 50ºF (10ºC). You can help encourage stronger seedlings in preparation for the move by occasionally running your hand gently over the seedlings.
Plant seedlings out while they are still quite young if outdoor conditions allow—sometimes as soon as three to four weeks after sowing. Younger seedlings tend to establish quicker than those that have become root bound in their containers.
Once you have raised your seedlings indoors, it is important to take steps to acclimatize them to their new outdoor home however, or you risk losing your plants and wasting all that hard work. This is a process known to gardeners as “hardening off.” This will prepare the seedlings for the harsh realities (i.e., climate) of the outside world!
Hardening off should take a minimum of a week and may take up to two. Suddenly moving plants from a stable environment to one with wide variations in temperature, light and wind can seriously weaken plants.
- For most plants, start hardening off about a week before the final frost date for your area. Withhold fertilizer and water them less often.
- Seven to ten days before transplanting, set the seedlings outdoors in dappled shade for a short time. Make sure the spot is sheltered from winds.
- Gradually extend the amount of time that plants are outside over the course of a week or two, until they’re staying out all day.
- Keep the soil moist at all times during this period. Dry air and spring breezes can result in rapid transpiration. If possible, transplant on overcast days or in the early morning, when the sun won’t be too harsh.
If you’re not able to be around to bring your seedlings back in during the day, another option is to place your seedlings into a cold frame and gradually increase the amount of ventilation by opening vents progressively wider each day. Make sure to shut them down completely before dark. After the hardening-off period, your seedlings are ready for transplanting.
Written by Catherine Boeckmann from The Old Farmer’s Almanac


